How to onboard coaches to Levelup360hq: UK admin guide
Published 4 August 2026

To onboard coaches to Levelup360hq, invite each coach by email or bulk upload via CSV, assign a role template with the correct permissions, link them to their squads, record DBS and qualification evidence, then run a hands-on training session covering video assessments and session management. When every coach has accepted their invite, holds the right access level, and has submitted at least one assessment, onboarding is complete.
Start here — act on these now:
- Open the Coaches section in your Levelup360hq admin panel and send individual invites or download the CSV template for bulk upload.
- Decide on role templates (head coach, assistant coach, physio/analyst) before sending a single invite.
- Collect each coach’s full name, email, mobile number, coaching qualifications and club role before importing.
- Confirm your safeguarding officer is ready to verify DBS evidence once accounts are active.
- Book a 60–90 minute training session for coaches within the first week of account activation.
- Schedule a follow-up check at day 7 to confirm all invites are accepted and permissions are working.
Table of Contents
- What do you need to prepare before inviting coaches?
- Step-by-step: how do you create coach accounts and set role-based access?
- How do you assign coaches to teams and configure team-level permissions?
- What does a practical training plan for coaches look like?
- How should you configure notifications, integrations and approval workflows?
- How do you handle UK data protection and DBS evidence in Levelup360hq?
- What does a realistic onboarding timeline look like?
- Quick fixes for common onboarding problems
- Onboarding checklist: one-page quick reference
- Key takeaways
- Why most clubs get coach onboarding wrong
- Levelup360hq onboarding support: where to get help
- Useful sources and further reading
What do you need to prepare before inviting coaches?
Rework during onboarding almost always traces back to missing data or decisions that were not made in advance. Gather the following before you open the invite screen.
Roster data for each coach:
- Full name and primary email address (the address they will use to log in).
- Mobile number and coaching qualifications (FA, ECB, England Netball, or equivalent).
- Club role and the squad or squads they will manage.
- For bulk upload: a completed CSV with one coach per row, no trailing spaces in email fields, and a preferred role column so role assignment can be automated on import.
Decisions to make before you start:
- Which role templates will you use, and what permissions does each carry?
- Will you enable calendar sync from day one, or phase it in after go-live?
- Who is the audit trail owner — the club admin, the safeguarding officer, or both?
- Have you confirmed with your head coach which squads each coach owns versus reads?
Pre-configuring organisation settings and role templates before inviting coaches reduces post-invite permission changes and admin overhead, according to platform walkthrough guidance. Get those decisions locked before you touch the invite screen.
Step-by-step: how do you create coach accounts and set role-based access?
Single invite flow
- Navigate to Admin > Coaches > Invite Coach.
- Enter the coach’s full name and email address, then select their role template.
- Click Send Invite. The account shows Waiting for Confirmation until the coach accepts.
- The coach receives an email from a no-reply address. Advise them to check spam if it does not arrive within five minutes.
- Once accepted, status changes to Active and the role permissions apply immediately. This invite-accept-activate pattern is standard across coaching platforms and keeps the confirmation audit trail clean.
Bulk upload flow
- Download the CSV template from Admin > Coaches > Bulk Import.
- Populate required columns:
first_name,last_name,email,mobile,role,squad. - Normalise email addresses and remove trailing spaces before saving the file.
- Import five test rows first to catch formatting errors before running the full file.
- Review the import summary for duplicate emails or missing required fields, then correct and re-upload.
Some platforms provide downloadable CSV templates and transition assistance for bulk imports — Levelup360hq offers assisted bulk import as part of its onboarding support.
Role templates to create
- Head coach: create/edit sessions, submit and approve video assessments, view all player cards and contact details, manage squad XP challenges.
- Assistant coach: create sessions, submit video assessments (approval required), view player cards, no access to payments or DBS records.
- Physio/analyst: read-only access to player cards and session data, no assessment submission, no contact details.
Pro Tip: Create a sandbox coach account before rolling out to your full squad. Assign it each role template in turn and test what it can and cannot see. This prevents accidental exposure of sensitive player data during early rollout.
How do you assign coaches to teams and configure team-level permissions?
Linking a coach to the wrong squad is one of the most common early mistakes, and fixing it mid-season causes confusion for players and parents alike.
Linking coaches to squads:
- Go to Admin > Teams > [Squad Name] > Coaches and select the coach from the active accounts list.
- A coach can be linked to multiple squads simultaneously — useful for multi-sport clubs running football and cricket programmes on the same platform.
- Set one coach as Owner per squad; others can be added as Contributors with narrower permissions.
Levelup360hq supports multiple sports and white-label club platforms, so role and squad settings must accommodate multi-sport structures from the outset.
Permission matrix by role:
| Capability | Head coach | Assistant coach | Physio/analyst |
|---|---|---|---|
| Create/edit sessions | Yes | Yes | No |
| Submit video assessments | Yes | Yes | No |
| Approve video assessments | Yes | No | No |
| View player contact details | Yes | No | No |
| Manage payments/store | Yes | No | No |
| View DBS evidence | No | No | No |

When a coach transfers between squads mid-season, update their squad assignment in Admin > Coaches > [Coach Name] > Squads and remove the old squad link. Do not delete the account — historical session and assessment data stays intact.
What does a practical training plan for coaches look like?
An exercise-led session embeds the core workflows more effectively than a passive demo. Practical tasks anchor the learning; watching someone else click through the platform does not.
a training schedule lasting about an hour
- 0–10 min: Profile setup. Coaches complete their profile, set notification preferences and connect their calendar.
- 10–30 min: Video assessments. Each coach records a 60-second clip on their phone, uploads it, tags the relevant player, and submits it for approval. Walk through the approval workflow so coaches understand who reviews their submission.
- 30–50 min: Session creation. Each coach creates a session, adds players from their squad, and marks attendance. Cover how to use session templates to document training consistently.
- 50–65 min: Player cards and XP challenges. Coaches review a live player card, then launch a simple XP challenge for their squad.
- 65–90 min: Q&A and sandbox practice. Coaches repeat any step they found unclear using the Levelup360hq demo environment.
Post-training checklist for coaches:
- Profile photo and bio completed.
- Notification preferences set (session reminders, assessment approvals, challenge outcomes).
- Calendar sync connected.
- At least one session created and one assessment submitted.
- Terms and conditions accepted within the platform.
Mobile onboarding matters too. Coaches who accept their invite on a phone should follow the mobile app steps: open the invitation email, follow the link, download the app from the App Store or Google Play, complete registration, and sync their squad data.
How should you configure notifications, integrations and approval workflows?
Set these up before coaches go live, not after. Coaches who miss a session reminder or cannot find an approval notification lose confidence in the platform quickly.
- Session reminders: enable push and email notifications 24 hours and one hour before each session.
- Assessment approvals: notify the approving coach immediately when a submission arrives; set a 48-hour SLA for first review.
- Challenge outcomes: notify coaches when a player completes or fails an XP challenge threshold.
- Calendar sync: one-way sync (platform to calendar) is the safest starting point. Two-way sync requires coaches to understand that calendar edits do not automatically update session records in Levelup360hq.
- Payments/store: admins must enable the payments module and assign a coach as a store manager before that coach can process kit or event bookings. Check this before go-live.
- Approval workflow defaults: set the head coach as the default approver for all video assessments. Define an escalation path (to the club admin) if an assessment is not reviewed within 48 hours.
How do you handle UK data protection and DBS evidence in Levelup360hq?
UK GDPR requires that you identify a lawful basis for processing each coach’s personal data before you collect it. For most clubs, that basis is contractual necessity (the coach is engaged to deliver sessions) or legitimate interest. Document your chosen basis in your club’s privacy notice before inviting coaches.
Handling DBS and qualification evidence:
- Record verification metadata in the platform: verifier’s name, date of verification, and DBS certificate expiry date.
- Avoid storing full scanned DBS documents in the platform where possible. A timestamped verification record is sufficient for most audit purposes and reduces the volume of sensitive data held.
- Qualification certificates (FA Level 2, ECB Coaching Award, etc.) can be stored as file attachments against the coach’s profile, with access restricted to the club admin and safeguarding officer via RBAC.
- Log every access to DBS evidence in the admin audit trail. Levelup360hq’s audit log and role-based access controls support this requirement directly.
Pro Tip: Set a calendar reminder to review DBS expiry dates six weeks before they lapse. A coach whose DBS has expired should have their assessment submission permissions suspended until renewal is confirmed.
Retention: keep DBS verification records for the duration of the coaching relationship plus a reasonable period thereafter, in line with your club’s data retention policy. Delete records when they are no longer needed and log the deletion.
This section is general guidance, not legal advice. Confirm your specific obligations with the ICO or a qualified data protection adviser.
What does a realistic onboarding timeline look like?
| Stage | Duration | Owner |
|---|---|---|
| Preparation (data gathering, decisions) | a few days | Club admin |
| Account creation / bulk import | 1 day | Club admin + platform support |
| Permissions and squad linking | 1 day | Club admin |
| DBS/qualification verification | several days | Safeguarding officer |
| Training session | 1 day | Head coach + club admin |
| Go-live checks | 1 day | Club admin |
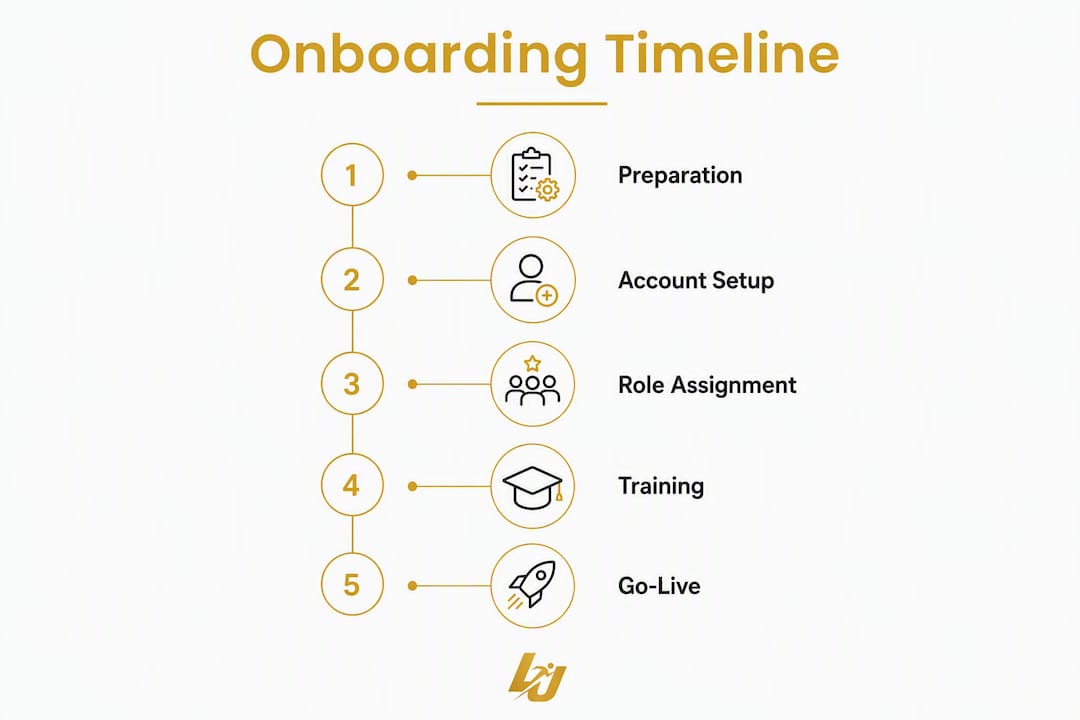
Total: about one to two weeks for a squad of up to 20 coaches, assuming DBS checks are already current.
Preparation and DBS verification can run in parallel to shorten the total. The dependency that most often delays go-live is waiting for coaches to accept invites — send invites on a Monday morning and chase non-acceptances by Wednesday.
Quick fixes for common onboarding problems
- Invite not received: ask the coach to check their spam folder for a message from a no-reply address. Verify the email address in the admin panel, correct it if wrong, and resend. Do not create a duplicate account.
- Bulk upload errors: open the CSV in a plain text editor to check for hidden characters, merged cells, or inconsistent column counts. Re-validate with a five-row test import before uploading the full file.
- Permissions errors: use the sandbox account to replicate the coach’s role and confirm what they can and cannot access. If the sandbox shows the correct behaviour but the live account does not, check whether the role template was saved before the invite was sent.
- DBS evidence upload failures: if a file is too large, compress the PDF or store only the metadata record and note the physical document location. If verification is pending, temporarily restrict the coach’s assessment submission permissions until the check clears.
- When to escalate: if an issue persists after two attempts, raise a support ticket with Levelup360hq. Include the coach’s account ID, a screenshot of the error, and the relevant admin audit log entry.
Onboarding checklist: one-page quick reference
- [ ] Roster data collected for all coaches (name, email, mobile, qualifications, squad).
- [ ] Role templates created and tested in sandbox.
- [ ] Organisation settings and notification defaults configured.
- [ ] Single invites sent or CSV bulk upload completed.
- [ ] All invites accepted (status: Active).
- [ ] Roles assigned and permissions verified per coach.
- [ ] Each coach linked to correct squad(s) with ownership set.
- [ ] DBS verification metadata recorded; expiry dates logged.
- [ ] Qualification evidence attached and access restricted.
- [ ] Terms and conditions accepted by every coach (confirm in admin panel).
- [ ] 60–90 minute training session completed.
- [ ] Each coach has submitted at least one video assessment.
- [ ] Each coach has created at least one session and marked attendance.
- [ ] Approval workflow tested end-to-end.
- [ ] Go-live sign-off by club admin and head coach.
Attach evidence (screenshot or export) to each completed item for your audit file. The safeguarding officer should countersign the DBS row.
Key takeaways
Onboarding coaches to Levelup360hq succeeds when role templates, squad assignments, and DBS verification are completed before coaches touch the platform, and when training is exercise-led rather than demo-led.
| Point | Details |
|---|---|
| Prepare before you invite | Collect roster data and lock role templates before sending a single invite to avoid rework. |
| Test permissions in sandbox | Use a sandbox coach account to verify each role template before live rollout. |
| DBS metadata over documents | Record verifier name, date, and expiry in the platform rather than storing full scanned certificates. |
| Exercise-led training works | A session where coaches record, upload, and submit beats any passive walkthrough. |
| Levelup360hq as the platform | Levelup360hq’s video assessments, RBAC, audit logs, and demo environment cover every step in this guide. |
Why most clubs get coach onboarding wrong
The conventional advice is to send invites, share a help article, and let coaches figure it out. That approach produces half-completed profiles, permission errors that surface three weeks later, and coaches who avoid the video assessment feature entirely because nobody showed them how it works.
The clubs that get it right treat onboarding as a short project with a defined end state: every coach has accepted their invite, holds verified permissions, has DBS evidence on record, and has submitted at least one real assessment. That is a measurable outcome, not a vague “coaches are trained” checkbox.
Three things accelerate adoption faster than anything else. First, a phased rollout: bring head coaches on in week one, assistants in week two. Head coaches become peer champions who answer questions before they reach the admin. Second, schedule the follow-up before go-live, not after. A 20-minute check-in at day 7 catches 90% of lingering permission issues. Third, use the platform’s own sandbox to run the training session, not a screen recording. Coaches who practise on real data in a safe environment retain the workflow; coaches who watch a demo do not.
Safeguarding deserves more attention than most guides give it. Storing DBS metadata rather than full documents is not just good data hygiene — it is the right posture under UK GDPR, and it makes your audit trail cleaner when the FA or a governing body asks for evidence. Technology-assisted coach training resources, such as those explored at NextGen Coxing, reinforce the same principle: the platform should support the coach’s development process, not add administrative burden to it.
Levelup360hq onboarding support: where to get help
Getting coaches live on Levelup360hq does not have to be a solo effort. The platform offers self-serve guides, a demo sandbox environment for testing permissions and running training sessions, and assisted bulk import support for clubs bringing on large coaching squads at once.
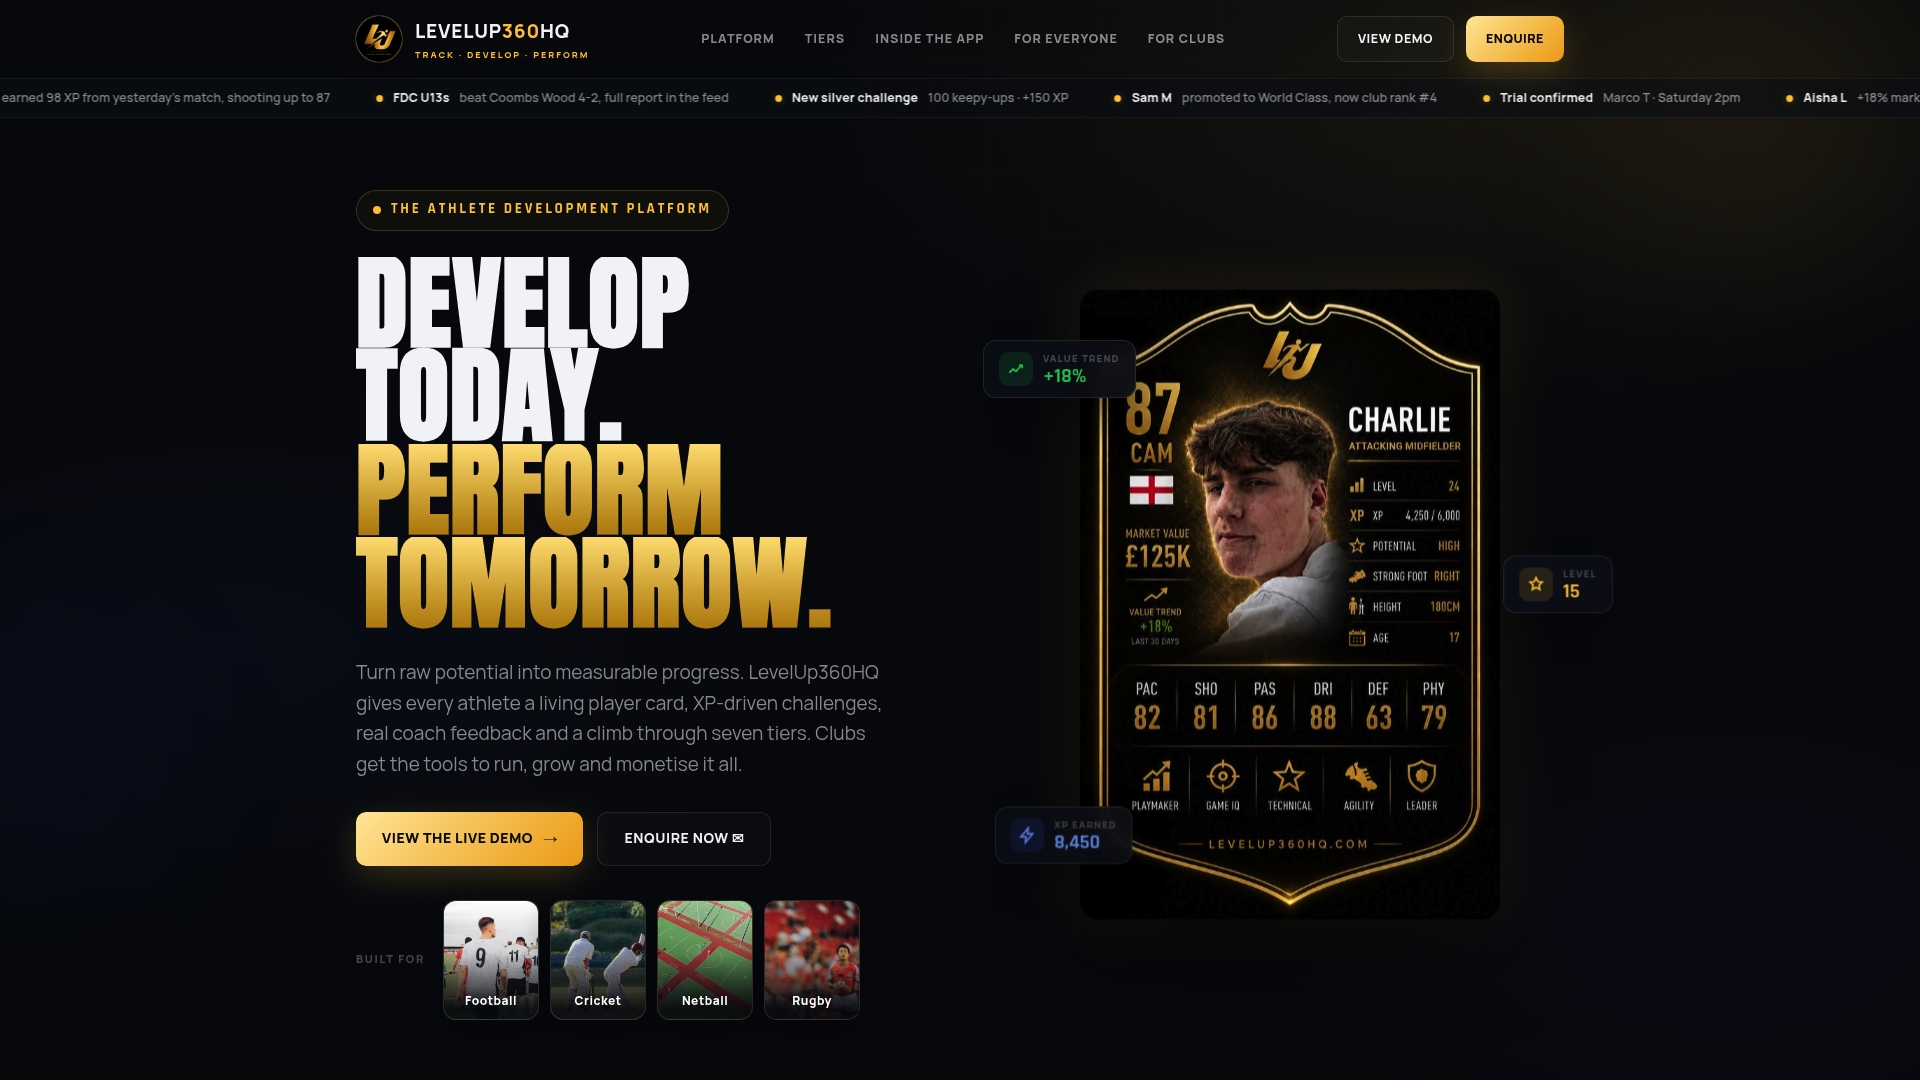
For clubs that want a faster start, paid onboarding packages include a dedicated setup session, role template configuration, and a live training walkthrough with your coaching staff. SLA tiers cover response times for data requests and support tickets, so you know exactly what to expect when something needs fixing.
The clearest next step: request a demo or assisted onboarding session directly through the Levelup360hq website. Bring your roster data and your role decisions, and the team can have your first coaches active within a working day.
Useful sources and further reading
- Levelup360hq platform overview: the primary reference for video assessments, session management, player cards, XP challenges, RBAC and audit log features described throughout this guide.
- Levelup360hq demo environment: request sandbox access or assisted bulk import support here.
- ICO — UK GDPR guidance: the authoritative source for lawful basis, retention, and data subject rights obligations relevant to storing coach and player data.
- UK Government — DBS checks for employers: covers which level of DBS check applies to coaching roles and how to verify certificates.
- The FA — Safeguarding in football: relevant for football academies needing to align DBS and safeguarding policy with FA requirements.
For platform-specific questions not covered in the documentation, contact Levelup360hq support directly and include your admin audit log reference for faster resolution.
Recommended
Turn potential into a player card.
LevelUp360 tracks every match, builds your child's player card, and shows their development over time.
Get started free