Import Athlete Data Without Duplicates: 10 Row Dry Run and External IDs
Published 9 October 2026

Use a CSV or XLSX roster file with an external_id column for bulk roster imports, a .FIT or .TCX file for workout data, and vendor timing exports for race results. For anything recurring or high volume, move to an API batch upsert once the manual process works. The workflow stays the same across most systems: prepare your file, map the fields, run a dry run, then validate before committing the final import.
TL;DR:
- Use CSV or XLSX for rosters, .FIT or .TCX for device activities, and the timing vendor’s own export for bibs, finish times, and splits.
- Add an immutable external_id and team identifier, resolve email or bib duplicates, and test ten rows before loading the full roster.
- For workouts and results, preserve timezone data and match records by external ID or bib number, never by name alone.
- Move to API batch upserts for weekly or daily syncs, and use staging, rejection logs, and row counts to catch failures before production.
Table of Contents
- Choosing the right import workflow for your task
- Supported file types and what each one actually contains
- Preparing your spreadsheet: cleaning, IDs and the columns you need
- Step-by-step: importing a CSV or Excel roster
- Importing workout and timing files without breaking the results
- Mapping, deduplication and upsert: keeping imports idempotent
- When to move from manual uploads to automated imports
- Fixing the most common import errors
- Quick reference: before, during and after the import
- How LevelUp360HQ supports imports and ongoing data hygiene
- Author perspective: practical shortcuts and common pitfalls
- Try LevelUp360HQ: explore the demo and import templates
- FAQ
- Sources
Choosing the right import workflow for your task
Not every athlete data job calls for the same approach, and picking the wrong one wastes hours. A one-off roster migration from a spreadsheet differs completely from a weekly result upload during race season, and treating them the same way causes avoidable errors.
Before touching a file, work out which category you’re in:
- Roster migration: moving an entire club or squad from one system to another, usually a single large file-based import.
- Ongoing enrolment: adding new athletes as they join, typically small, frequent, file-based uploads.
- Timing and race results: importing bib numbers, finish times and splits from a timing vendor’s export.
- Activity or workout ingestion: pulling device data such as heart rate, pace and power from training files.
File-based imports suit infrequent or small-batch work. Anything recurring, especially weekly or daily syncs between a timing platform and a club database, benefits from an API connection instead. If you’re consolidating several clubs, associations, or legacy databases into one CRM, involve IT or a systems integrator early, as that kind of merge almost always needs custom field mapping and deduplication logic beyond what a basic importer handles.
Supported file types and what each one actually contains
Each file type preserves different data, and picking the wrong one means losing information you didn’t know was there.
- CSV/XLSX: best for registration fields and custom attributes such as name, date of birth, email, team and membership status. Required columns typically include a unique identifier, first and last name, and a contact field.
- .FIT/.TCX: device export formats that preserve timestamped activity metrics, including heart rate, cadence and power where the device supports them.
- Timing exports (RaceResult, MyLaps, RaceHQ-style): structured around bib number, finish time and splits, with each vendor applying its own column layout.
Structured workout files exported from training platforms are widely compatible across coaching tools, and TrainingPeaks notes that workouts can be exported as .ERG, .MRC, .FIT or .ZWO depending on the device and app. Exercise and activity files vary enough by vendor that a dry run in a staging environment is worth the extra few minutes before a full rollout.
When a timing vendor offers a template, use it rather than reformatting your own file to match. Reformatting introduces column errors; starting from the vendor’s own template avoids the most common rejection causes.
Preparing your spreadsheet: cleaning, IDs and the columns you need
Most import failures trace back to a messy source file, not the importer itself. A few minutes of preparation saves far more time than troubleshooting rejected rows afterwards.
- Start from an exported template from the target system wherever one exists, since it already matches the expected column order and headers.
- Canonicalise names (consistent capitalisation, no trailing spaces) and put every date in ISO format,
YYYY-MM-DD, to avoid regional date parsing errors. - Strip invisible characters, including non-breaking spaces and stray tabs copied from PDFs or other spreadsheets.
- Add an
external_idcolumn. This is the single most important preparation step: an immutable identifier lets you re-run the same import without creating duplicates. - Include a
team_idor group identifier where athletes belong to squads, age groups or divisions, so associations survive the import. - Resolve duplicates on email or bib number before uploading rather than relying on the importer to catch them.
Typical columns for a roster file: external_id, first_name, last_name, date_of_birth, email, team_id, membership_status.
Pro Tip: Run your cleaned file through a 10-row test import before uploading the full roster. It surfaces formatting problems in seconds rather than after 500 rows fail.

Step-by-step: importing a CSV or Excel roster
This workflow applies to most management and timing systems, with minor naming differences between platforms.
- Back up or export the current roster before starting, so you have a known-good state to revert to.
- Open the import tool and upload your prepared file.
- Select an existing field mapping or create a new one, matching your spreadsheet’s column headers to the system’s fields.
- Map required fields first, external_id, first name, last name, date of birth and email, then map optional attributes such as team, position or membership tier.
- Run a dry run or preview if the system offers one, and review any flagged rows.
- Fix validation errors in the source file rather than in the preview screen, then re-upload.
- Run the final import once the dry run shows no errors.
After the import completes, verify it properly:
- Check the row count matches the number of athletes in your source file.
- Open a handful of individual records and confirm the fields landed correctly.
- Confirm team or group associations are intact, not just the athlete’s own fields.
A CSV importer can often load registration data and results in a single file when column mapping supports both, though DistantRace’s documentation warns that some importers can delete existing participants if duplicates aren’t resolved first, which is exactly why the backup step above isn’t optional.
Importing workout and timing files without breaking the results
Workout and timing data carry two things a roster import doesn’t: timestamps and performance values, and both are easy to corrupt during import.
- Preserve timezone information. A zoneless timestamp imported into a system expecting UTC can shift every result by hours, so convert timestamps before import if the source file omits a timezone.
- Match on
external_idor bib number, never on name alone, to prevent results attaching to the wrong athlete or becoming orphaned with no athlete link at all. - Decide whether to merge or separate registration and result data. A single combined file works for small events; larger ones are more reliable split into a registration import followed by a results import once bibs are confirmed.
- Pick the file type the source actually produces. Use .FIT for device exports and the timing vendor’s own CSV format (RaceResult, MyLaps) for race results rather than converting between them.
Vendor help centres, including MyLaps’s athlete import guidance, consistently recommend working from the platform’s own template rather than building one from scratch, since timing systems often expect specific column names for bib and split data.
Mapping, deduplication and upsert: keeping imports idempotent
An idempotent import is one you can run twice without creating duplicates, and getting there depends on a handful of rules.
- Use an immutable
external_idin your mapping rather than a user-editable field like email, which athletes change far more often than you’d expect. - Learn the destination system’s upsert rules. Every platform decides differently which fields trigger a new record versus an update to an existing one, and importing without knowing this is how duplicate athlete profiles happen.
- Batch upsert with association labels to preserve relationships between athletes, teams and events rather than re-creating those links from scratch each time.
- Plan for partial failures. A good import process logs rejected rows separately so you can fix and resubmit just those, instead of rerunning the entire file.
A case study from OPTI Software on importing ticketing data into a CRM illustrates the stakes: using external identifiers, batch upsert and custom associations, the team imported a large number of tickets with zero duplicates, by modelling games, tickets and contacts as linked objects rather than flat rows. The same logic applies directly to athletes, teams and events: model the relationships explicitly, and the import logic that preserves them does the heavy lifting on every subsequent sync.
When to move from manual uploads to automated imports
Manual CSV uploads work well until volume or frequency outgrows them. A few signals suggest it’s time to automate:
- Volume: hundreds of athletes across multiple teams or seasons.
- Frequency: weekly or daily syncs rather than occasional updates.
- Complex associations: athletes linked to multiple teams, events or sponsors that need to stay consistent across systems.
An intermediate transformation layer, often called ETL or ELT, cleans and normalises data before it reaches the destination system, which matters most when combining data from several sources with inconsistent formats. RudderStack’s guidance on migration processes recommends a staged pipeline: export samples, normalise and validate in a staging file, run a dry import against a sandbox, fix rejected rows, then run the final import with logging and monitoring in place.
A CRM acting as the single source of truth, with every system referencing the same external identifiers, keeps associations consistent as data moves between a timing platform, a club database and a coaching app.
Pro Tip: Before scheduling any automated import, run it against a staging or sandbox environment for at least one full cycle. Catching a mapping error there costs minutes; catching it in production costs hours of cleanup.
Fixing the most common import errors
Most import problems fall into a short list of repeat offenders.
- Verify totals first. Compare the row count in your source file against the number of records the system reports after import.
- Review the importer’s rejection log for specific row-level errors rather than guessing from a generic failure message.
- Fix encoding and date parsing issues, usually caused by non-UTF-8 files or non-ISO date formats, by re-saving the source file and re-running the mapping.
- Reimport corrected rows individually rather than rerunning the entire file, which avoids touching records that already imported correctly.
- Escalate to vendor support with logs attached when an error persists, including the specific row numbers and the exact error text the importer returned.
Quick reference: before, during and after the import
A short checklist to copy before your next import run:
- Pre-import: back up the current data, validate external IDs, dedupe on email or bib, choose the correct template for the target system.
- During import: run a dry run first, map required fields before optional ones, monitor progress for rejected rows.
- Post-import: check row counts, spot-check individual records, confirm associations, and run any automated validation the system offers.
Practitioners who follow staged, dry-run-first migration processes consistently report fewer duplicate records and resumable imports without data loss, according to migration best practice guidance that treats idempotent operations as the default rather than the exception.
How LevelUp360HQ supports imports and ongoing data hygiene
Our platform has import tools based on the same principles covered above. Athlete data can be brought in through CSV/XLSX upload using provided templates, or through API and batch import for larger, recurring syncs.
- External ID fields are built into our mapping, so repeated imports update existing athlete profiles instead of duplicating them.
- Association handling keeps athletes linked correctly to teams, squads and events as rosters change.
- Video assessments and session management tools sit alongside the import layer, so once athlete data lands in the platform, coaches can start approval workflows and session planning without a second data entry step.
Author perspective: practical shortcuts and common pitfalls
Test every import on a small sample before running the full file: ten rows reveal mapping errors that five hundred rows would only amplify. Keep an external_id in every file you ever upload, even for a one-off job, because “one-off” imports have a habit of needing a second pass. Automate your verification checks rather than eyeballing records, since corrupt rows hide in the data you didn’t think to check.
— Chris
Try LevelUp360HQ: explore the demo and import templates
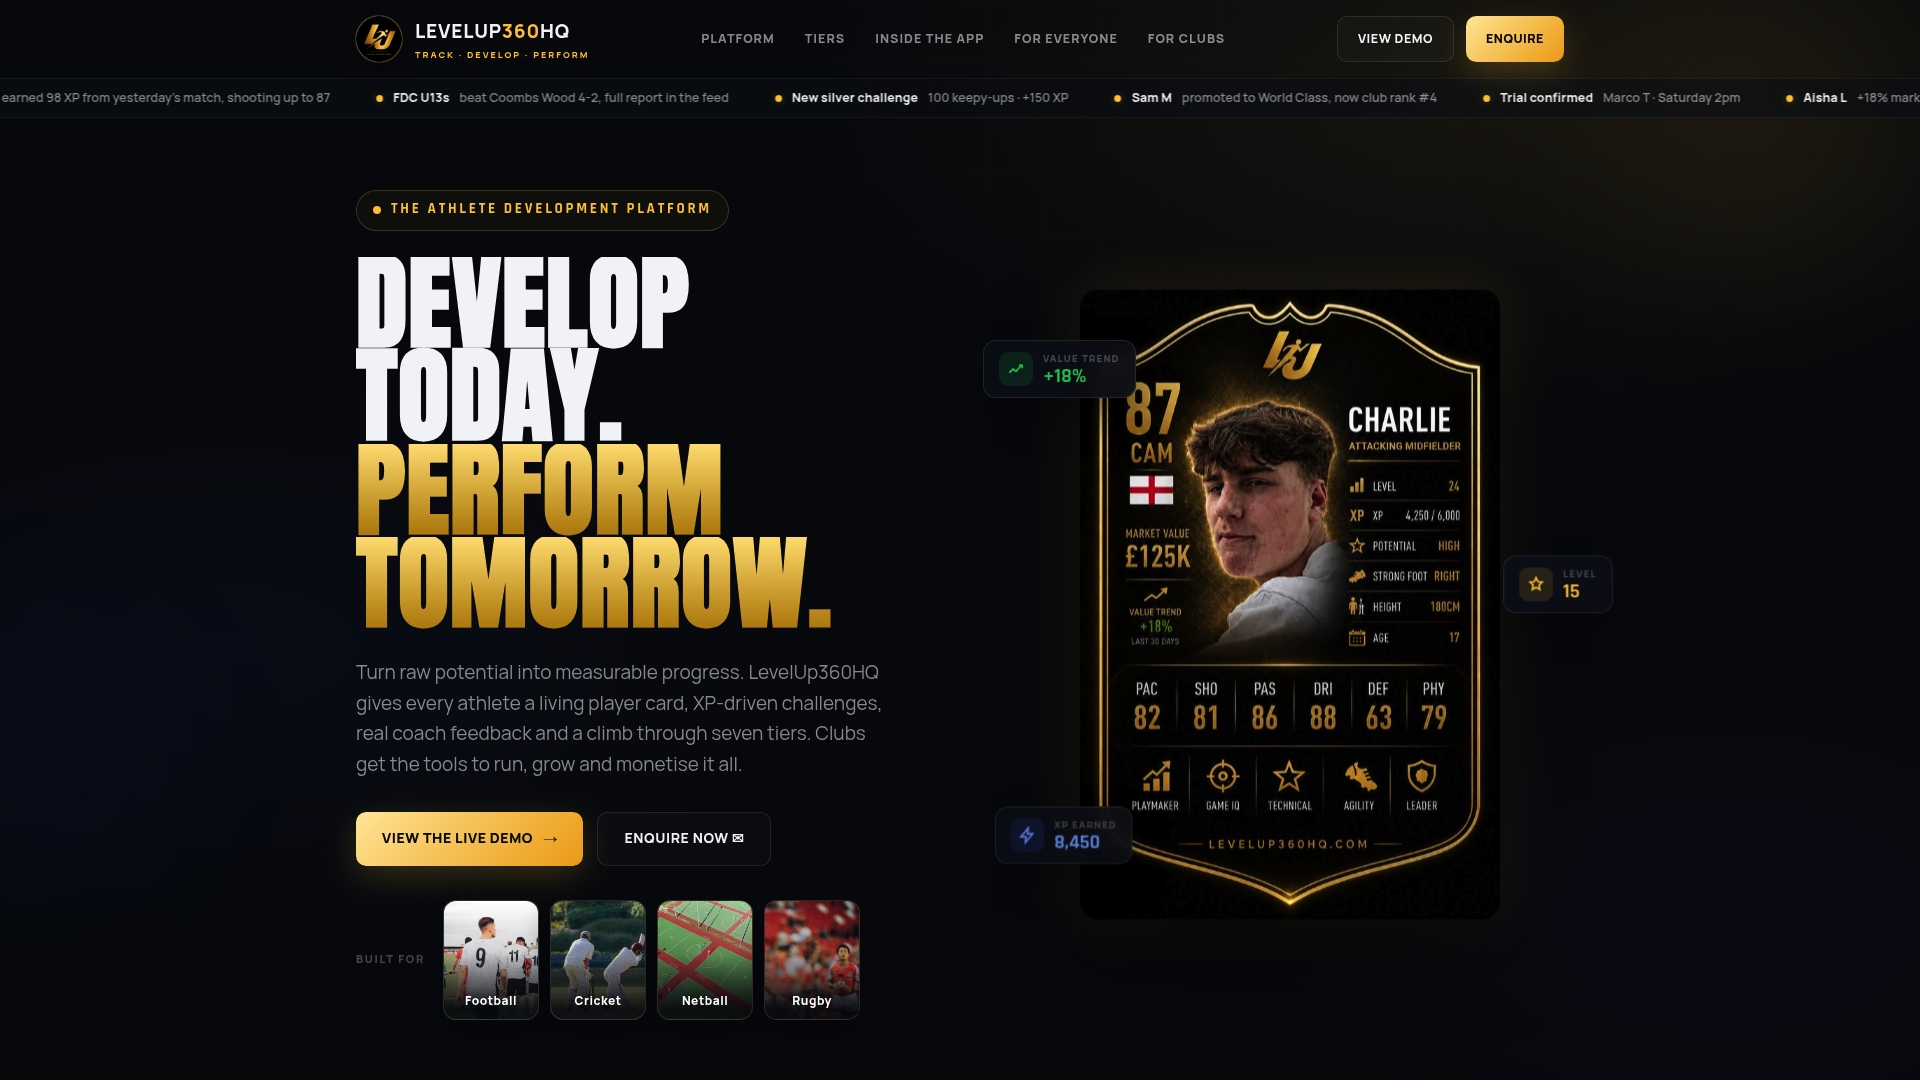
Importing athlete data is only the first step. What happens after, approval workflows, session tracking, live player cards, is where the setup time actually pays off, and that’s the part we focused on when building our own import flow.
- CSV/XLSX upload with ready templates for roster data.
- API and batch import for recurring or high-volume syncs.
- External ID mapping built in, so re-imports update rather than duplicate.
If you manage registration and roster collection separately, tools like Sidekick’s team management features cover scheduling and registration collection well. Where we fit differently is what happens after the roster lands: our platform turns that same athlete data into live player cards, XP progression and coaching workflows without a second system to maintain. Try the LevelUp360HQ demo to see the import templates in action, or visit Levelup360hq for the full feature set.
FAQ
What is the best athlete tracking app?
There’s no single best app: the right choice depends on whether you need training load tracking, race timing, or a combined coaching and development platform. Compare options against your actual workflow, roster size and whether you need gamified engagement features or purely raw performance data.
How do I import a workout file into TrainingPeaks?
Export your structured workout as .ERG, .MRC, .FIT or .ZWO from your training software, then use the platform’s manual export or sync feature to bring it in, following the TrainingPeaks export guidance. Coaches can export workout summary CSVs or individual files from athlete accounts, typically within a 12-month range.
How do I create an athlete profile?
Start with the required fields: a unique external ID, first and last name, date of birth and a contact email, then add team or group identifiers. Most systems, including LevelUp360HQ, let you create profiles individually through a form or in bulk through a CSV/XLSX import using the same fields.
Who are the top 10 athletes?
This depends entirely on the sport, competition and ranking criteria in question, so there’s no single universal list. Check the relevant sport’s governing body or official ranking system for current standings in your discipline.
Sources
Turn potential into a player card.
LevelUp360 tracks every match, builds your child's player card, and shows their development over time.
Get started free